Monday, December 29, 2014

Holiday Manicures

Holiday 
Mani-A!


Happy Holidays everyone! I am sharing today some holiday manicures I have been doing the past month. I made sure to do my holiday shopping a head of time so I could have time to put these together. :) 

So, first up I will be showing a quick pictorial on how to get those candy cane nail designs you may have been seeing around. Step 1, paint your base color after painting a clear base coat and let sit for about 2 min. I used Rica Polish: Whiteout for my base. Step 2, apply your nail strips according to how you want. I did one large strip at the bottom corner of my nail then proceeded with a small and then medium and so on with just medium and small. I purchased these strips from www.NailVinyls.com (IG: @Teisom) Step 3, paint on your desired color. I used here Sinful Colors: No Text Red. After applying the polish, immediately but carefully remove the strips using a tweezer then let it sit to dry for a few minutes and clean up your edges of excess polish. Step 4, you can touch up if its needed. If the design came out perfect then just top coat the design using your desired top coat and the design is completed. :)


Below I have a manicure showing Polished By KPT: Naughty and Nice on four of my nails. It is a red thermal polish with scattered holographic pigments and blue iridescent. It changes from Red when cold, to a pink when warm. On my middle nail I have used a holiday sweater pattern from HD-I Bunny Nails brand stamping plate. My ring nail is of a green spearmint candy cane and my pinky has one coat of Serum No.5 Yule Light Up My Life. Base coat used underneath is Dream Polish: Smooth Gem base coat and for top coat I used their Gem Glam top coat. 


Below is my right hand; also known as my Cinderella hand. :D I have on still Polished By KPT and a red peppermint candy cane design on my accent instead of the green, and only my pinky has on Serum No.5: Yule Light Up My Life. 


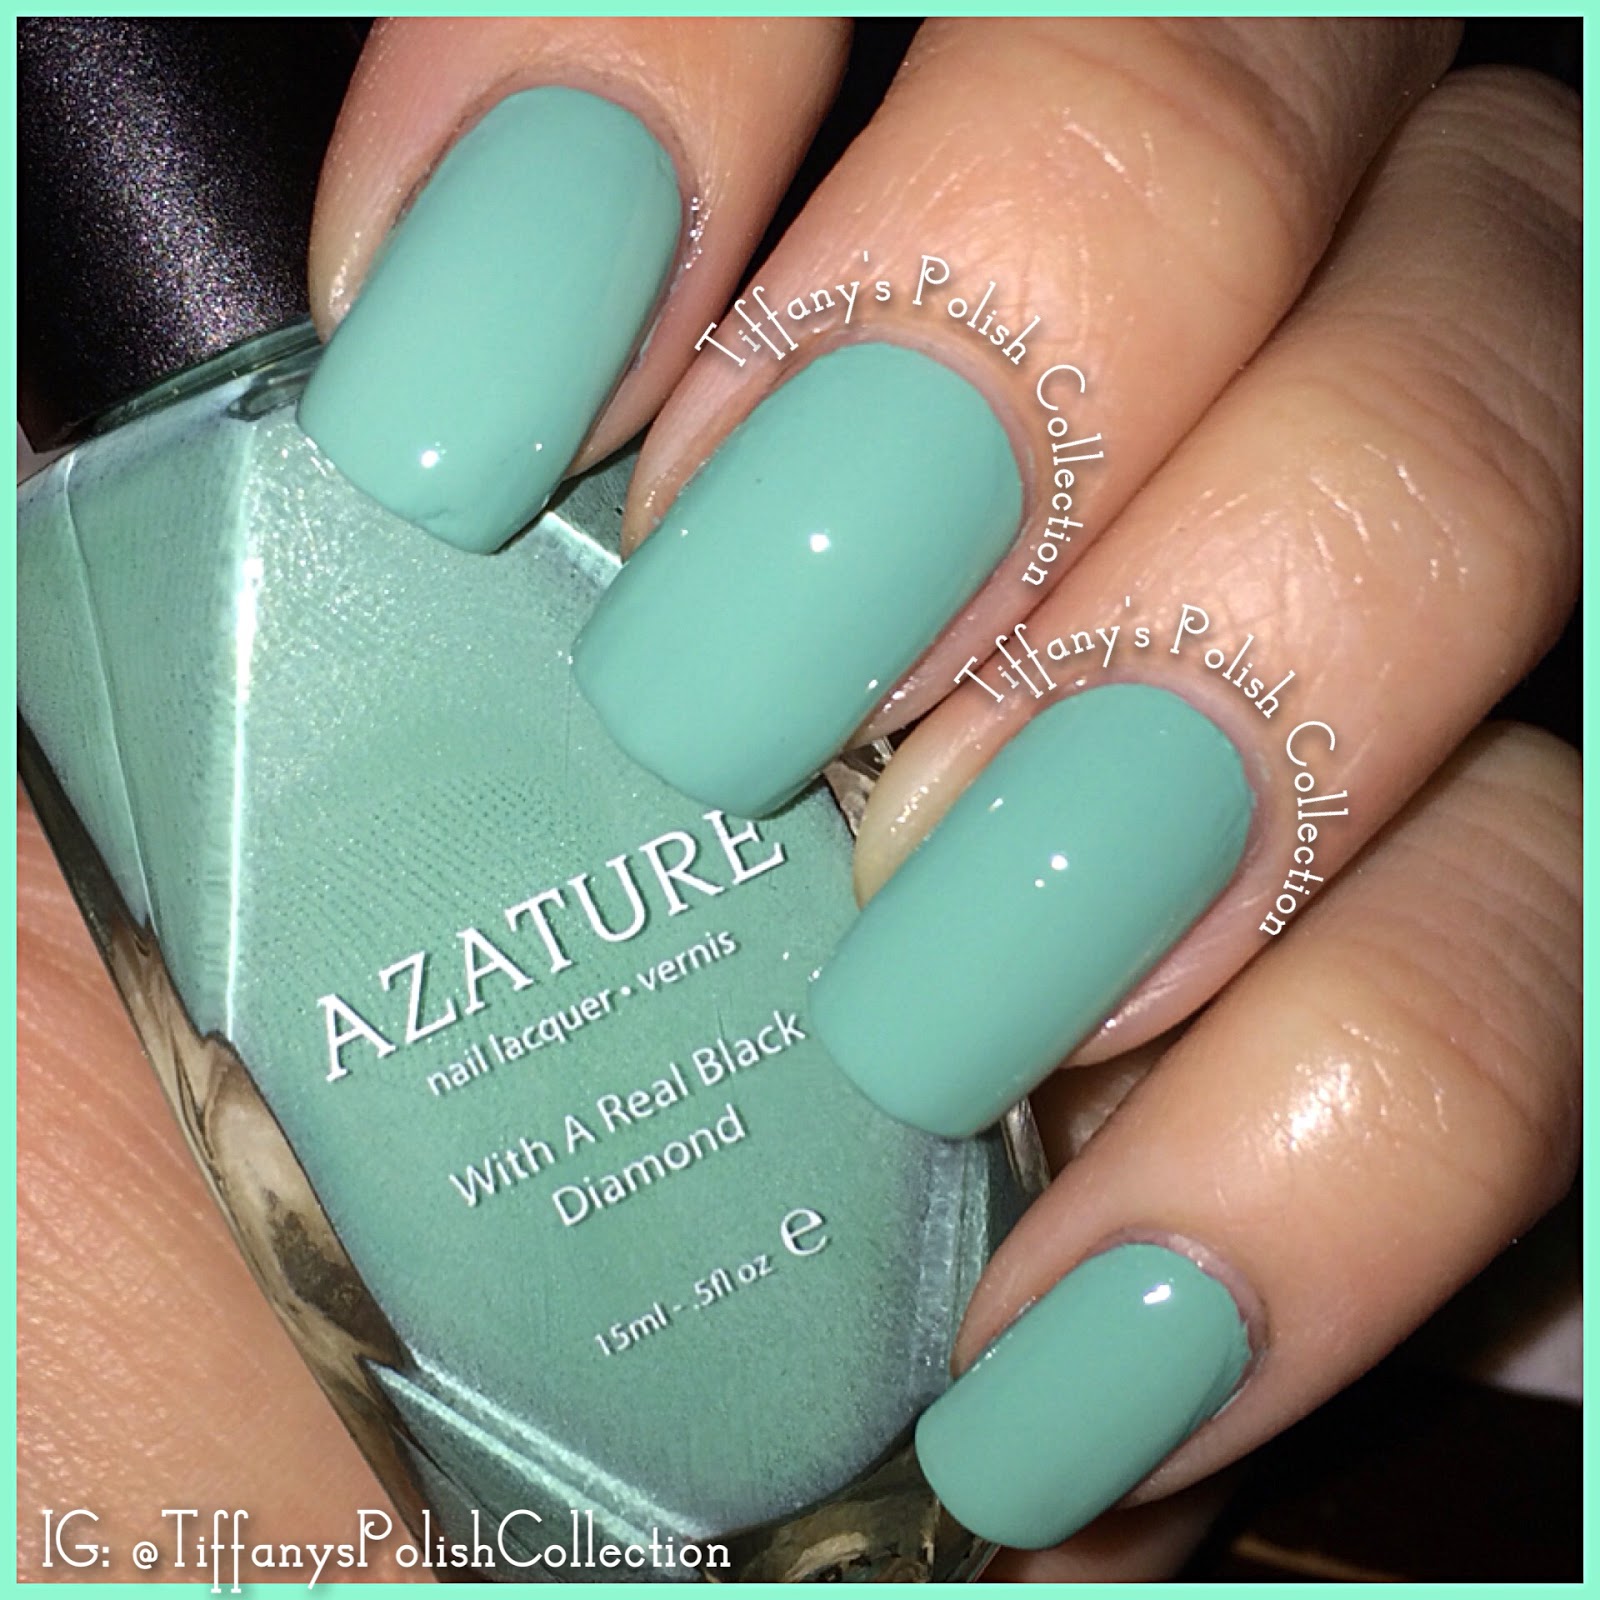
Next up is a new brand I just purchased from called Nvr Enuff Polish. I have here Extraterrestrial. It is a beautiful dark blue holo polish. I used flash to take this photo so you can the holographic pigment shine through. It took me three coats to build opacity and used Dream Polish: Gem Glam top coat. My accent nail is two coats of Azature: Peal diamond. It really does resemble a pearl and is absolutely gorgeous. 


Below I added art to Extraterrestrial and Pearl Diamond. I used Bunny Nails: HD-I stamping plate for the snowflakes.
Again for the candy cane design I used Nail Vinyls by Linda (IG: Teisom). How to can be found above as well as link to the site for purchasing. 


Lastly, on my right hand, I have on two coats of Dollish Polish: I Am The One Who Knocks (Breaking Bad inspired) on my pinky nail. It is suppose to resemble Walter White's Blue Sky drug, but it also is great for resembling the Winter season. :D On my accent nail I just have on Azature: Pearl Diamond. Middle nail has Sinful Colors: Ruby Ruby, and I did an ombre on my pointer nail using Polish My Life: Breakfast On Fifth and Rica Polish: Whiteout and stamped on dark blue snowflakes using Bunny Nails: HD-I stamping plate. 


I had a great time creating these designs and hope you have or had a great holiday! As always links to websites are posted below! If some are closed keep up to date by following that brand on their social medias. Happy shopping! <3 
~Tiffany 

Websites

Nail Vinyls: http://nailvinyls.com/
Serum No.5: http://serumno5.com/


Tuesday, December 9, 2014

Fall Into Winter: Fall, Winter Manicures and Stamping Tips

Fall Into
Winter

Hey everyone! sorry it has been taking me long to post something new. I have had some personal things going on and had to put off doing blogs. Just want to make it clear that I do my blogs, nail art and polish reviews for fun and to relieve the everyday stresses of the world. It is my hobby, not my life. I respect those who do these everyday and make an income. Thank you to those who continue to read my blogs and show support. <3 I will try my best to keep these blogs going. I love putting these together! :)

Now back on to nails! :) I am sharing today some more Fall manicures and going into Winter/holiday manicures. I will be showing more nail art this blog post! You will also notice lots of indie polish brands will be mentioned, so many that I will tell you as you read more into the blog post. 

Below is a Fall manicure using two coats of Zoya Polish Emilia on three of my nails. It is a creamy chocolate brown polish and it applies like a dream! On my accent nail is Pinwheel Polish: How Do You Boo? It is initially a Halloween polish but I was working Halloween day so I could not get the chance to paint my nails for the occasion. As you can see it is still a nice Fall polish to wear. It is a white crelly polish that took me three coats to build its opacity. For top coat I used Dream Polish Gem Glam and I used their Smooth Gem base coat prior to painting my nails. In my hand I am holding Simply Pure Hydrating Oil pen by Bliss Kiss. It is perfect for on the go to apply to your cuticle to keep them moisturized. 


Below is the same manicure as above just added some art to it. I painted on leaves falling with orange and yellow polka dots. I guess the green on the tips can resemble grass :D I wasn't really thinking much when I did this, just did the art. 


Below is my manicure using three coats of Lacquer Lust: Ho Ho Holodays. It is a lovely holographic green polish and applies just lovely. It was from last year's Holiday Trio collection. Accent nail is two coats of Arcane Lacquer: Twinkling Tinsel. It is a gorgeous polish filled with gold glitter in all sorts of sizes and shapes. It also carries some reds, silver and green, with gold star shaped glitter and gold shreds. 
(Not real gold in this polish) I used Dream Polish: Gem Glam top coat and their Smooth Gem base coat. 


Below is the same manicure as shown above just added silver and vampy red chevron stripes. The silver polish is Cult Nails: Lethal and the vampy red duochrome with holo is Angel wings Nails: Countess. Used Nail Vinyls by Linda to get the chevron stripes on my nails. 


Yes, below are my nails. If you also follow me on my Instagram account: @TiffanysPolishCollection then you know my nails have been cut. I got a bad crack in my middle nail so to keep from them getting any worse, I cut them all down. Back to square 1 and back to square shaped nails for now. I will miss the claws but, they will grow back. 


Below is one of the most luxurious polishes I have in my polish collection! I have here my very first Azature polish! The polish is luxurious because it is infused with a real black diamond inside the bottle and they cost $25 a bottle! I was lucky to snag this at a discount of $18 plus 10% off discount using CODE: AZVIP10 This shade is Jade. It is a very creamy jade shade. Took me almost one coat to apply but did two coats. Used Dream Polish base and top coats. On the back of the bottle it describes the Jade gem. "This shade is inspired by the Jade diamond. Jade became very rare , valued gem in China and remains a symbol of good luck today. -Azature 


Below I am still wearing Azature: Jade and used Rica Polish: Whiteout for stamping (Best indie polish for stamping!) and Bunny Nails: HD-I stamping plate for the nail stamp art. From left to right I have stamped on an elf, snow flakes, a single snowflake, and a candy cane. I used to have such a hard time nail stamping but once I was taught the tricks to get them working, I went stamp crazy! Ha ha! :D 

Tips on stamping:


  • First make sure you peel off the protecting vinyl on the stamping plates. It won't work unless its removed.
  • Wipe down the plate using acetone and a cotton pad or cotton ball then let dry.
  • Buff your brand new stamper lightly with a nail file then wipe the stamper with acetone as well to rid of any protecting resin that was used in the making of the stamper.
  • Try using an old gift card as a scraper instead of the scraper that is provided with the stamper. Tend to get better scraping action by doing so. 
  • Lastly, test it out a few times before putting it to action on your nails. Always use polish that work well with stamping.
Hope these tips help you all as they have helped me! :)


Below is what the Bunny Nails HD-I stamping plate looks like. It has all the fun festive prints I was looking for for the holidays. 


Next up to share with you all is Different Dimension: Christmas at Tiffany's. It is a gorgeous shade of blue with white and silver glitter in different shapes and sizes, as well as tiny silver stars. I applied three coats and used Dream Polish: Gem Glam top coat to seal the glitter. On my accent nail is two coats of Claire's Breakfast at Tiffany's (Yes, the Claire's accessory shop we see in many malls in the U.S.) and on top is Laquerlicious: A Letter From Santa. I love all the glitter in this polish! So festive and fun. I also applied Dream Polish: Gem Glam over it and three coats to be exact so the glitter will not come off. 


Below is of the same photo as above on the left just a solo shot. I find it just absolutely stunning! Simple, yet festive. It has a perfect balance for that winter and holiday theme manicure. 


I wanted to be a little more festive for the season by adding snowflakes using my Bunny Nails HD-I stamping plate. It came out so nice and you can still see the stars and glitter. 


Overall, I love all my polishes mentioned here and my new nail art stamping plate! I have all the links to these shop posted below as always! :) If you have any questions let me know! I will try to answer to the best of my ability. Please remember, not all of these polishes may currently be available. Some were limited time for the season. Enjoy your week everyone and happy shopping always! <3 
~Tiffany 

Websites:
Cult Nails: http://cultnails.com/